Create Your Own Spooky Doorway!
-Collaborative Post –
Halloween is going to be a little bit different for many of us this year. But, different doesn’t have to be worse. In fact, this year I promised to make an extra effort to embrace Halloween.
I’ll be honest, like many other families, we don’t have a terrific spare budget at the moment to go and buy decorations. So, I was already planning to make as many decorations as I could. Then I was challenged to create a Halloween doorway to be proud of by Font Bundles. So, I sprung to action and got to work creating our spooky display.
Goosebumps
My 9 year old loves the Goosebumps books, during lockdown this year he read so many of them – they really captured his imagination. Goosebumps seemed to be a wonderful place to start with creating our spooky door!
But how to incorporate Goosebumps into a display when you’re on a budget? First of all my son wanted some terrifying gnomes, so he made some small faceless gnomes using clay. It was a good starting point for our creation!
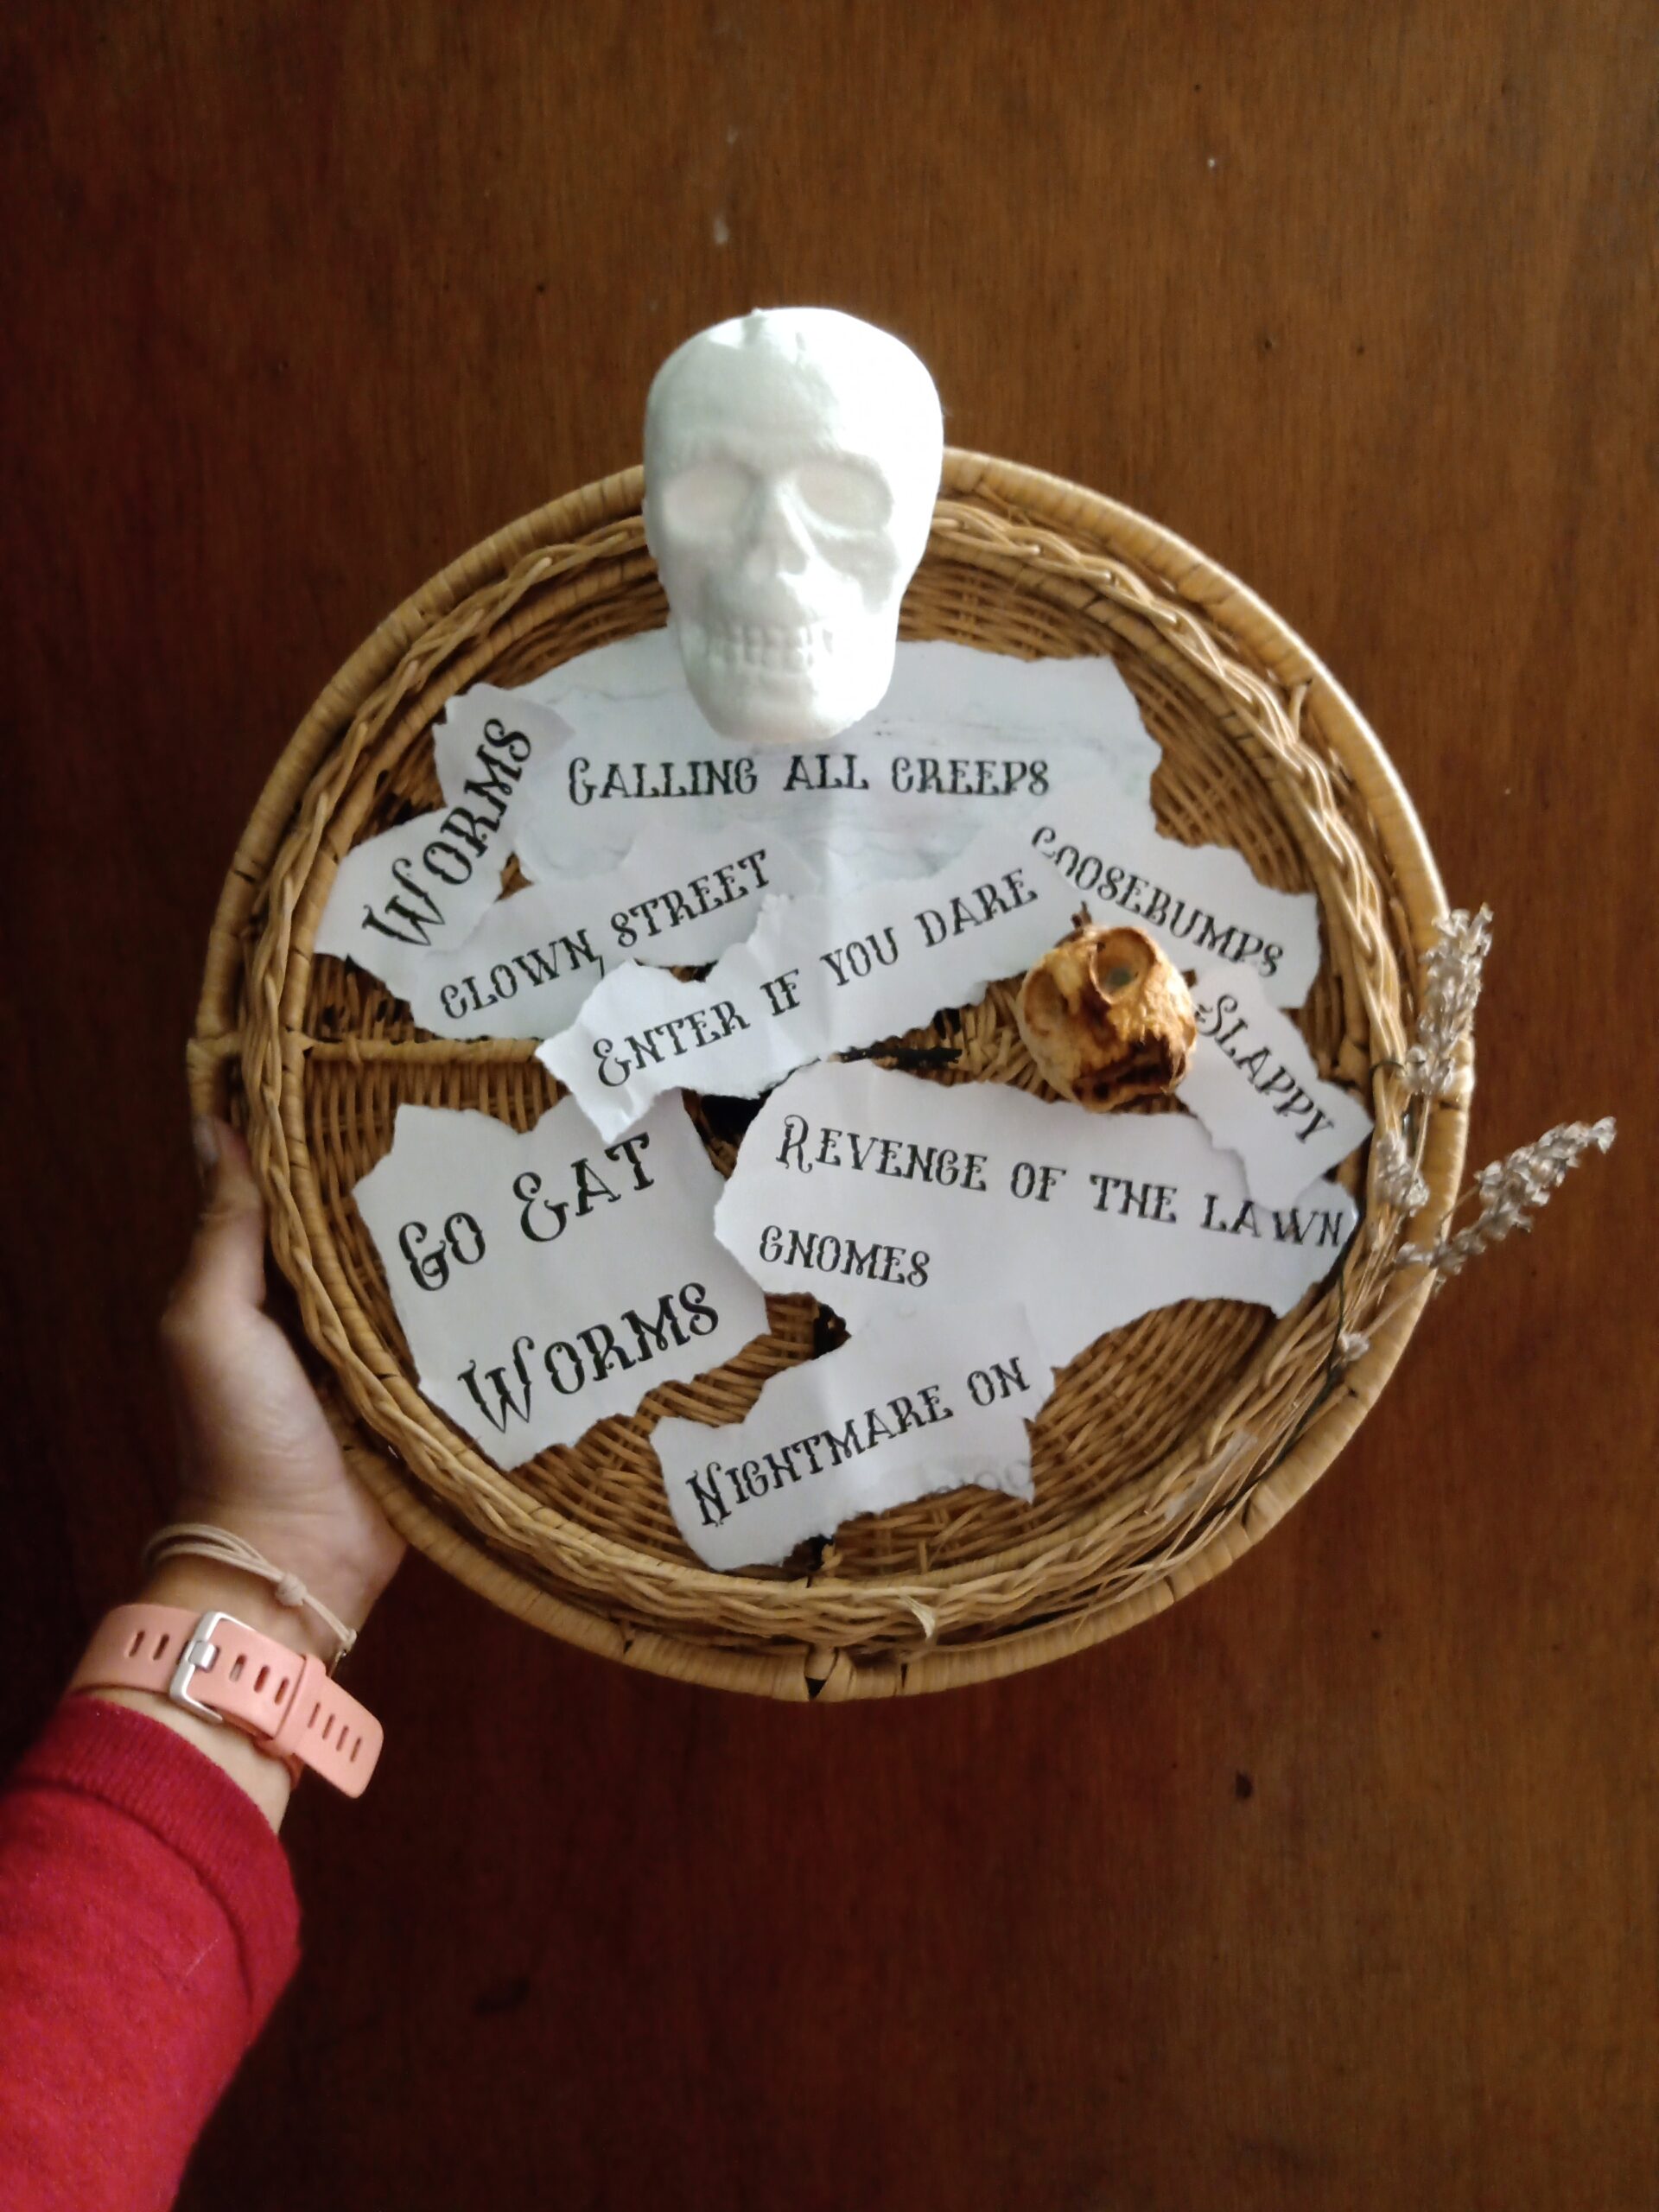
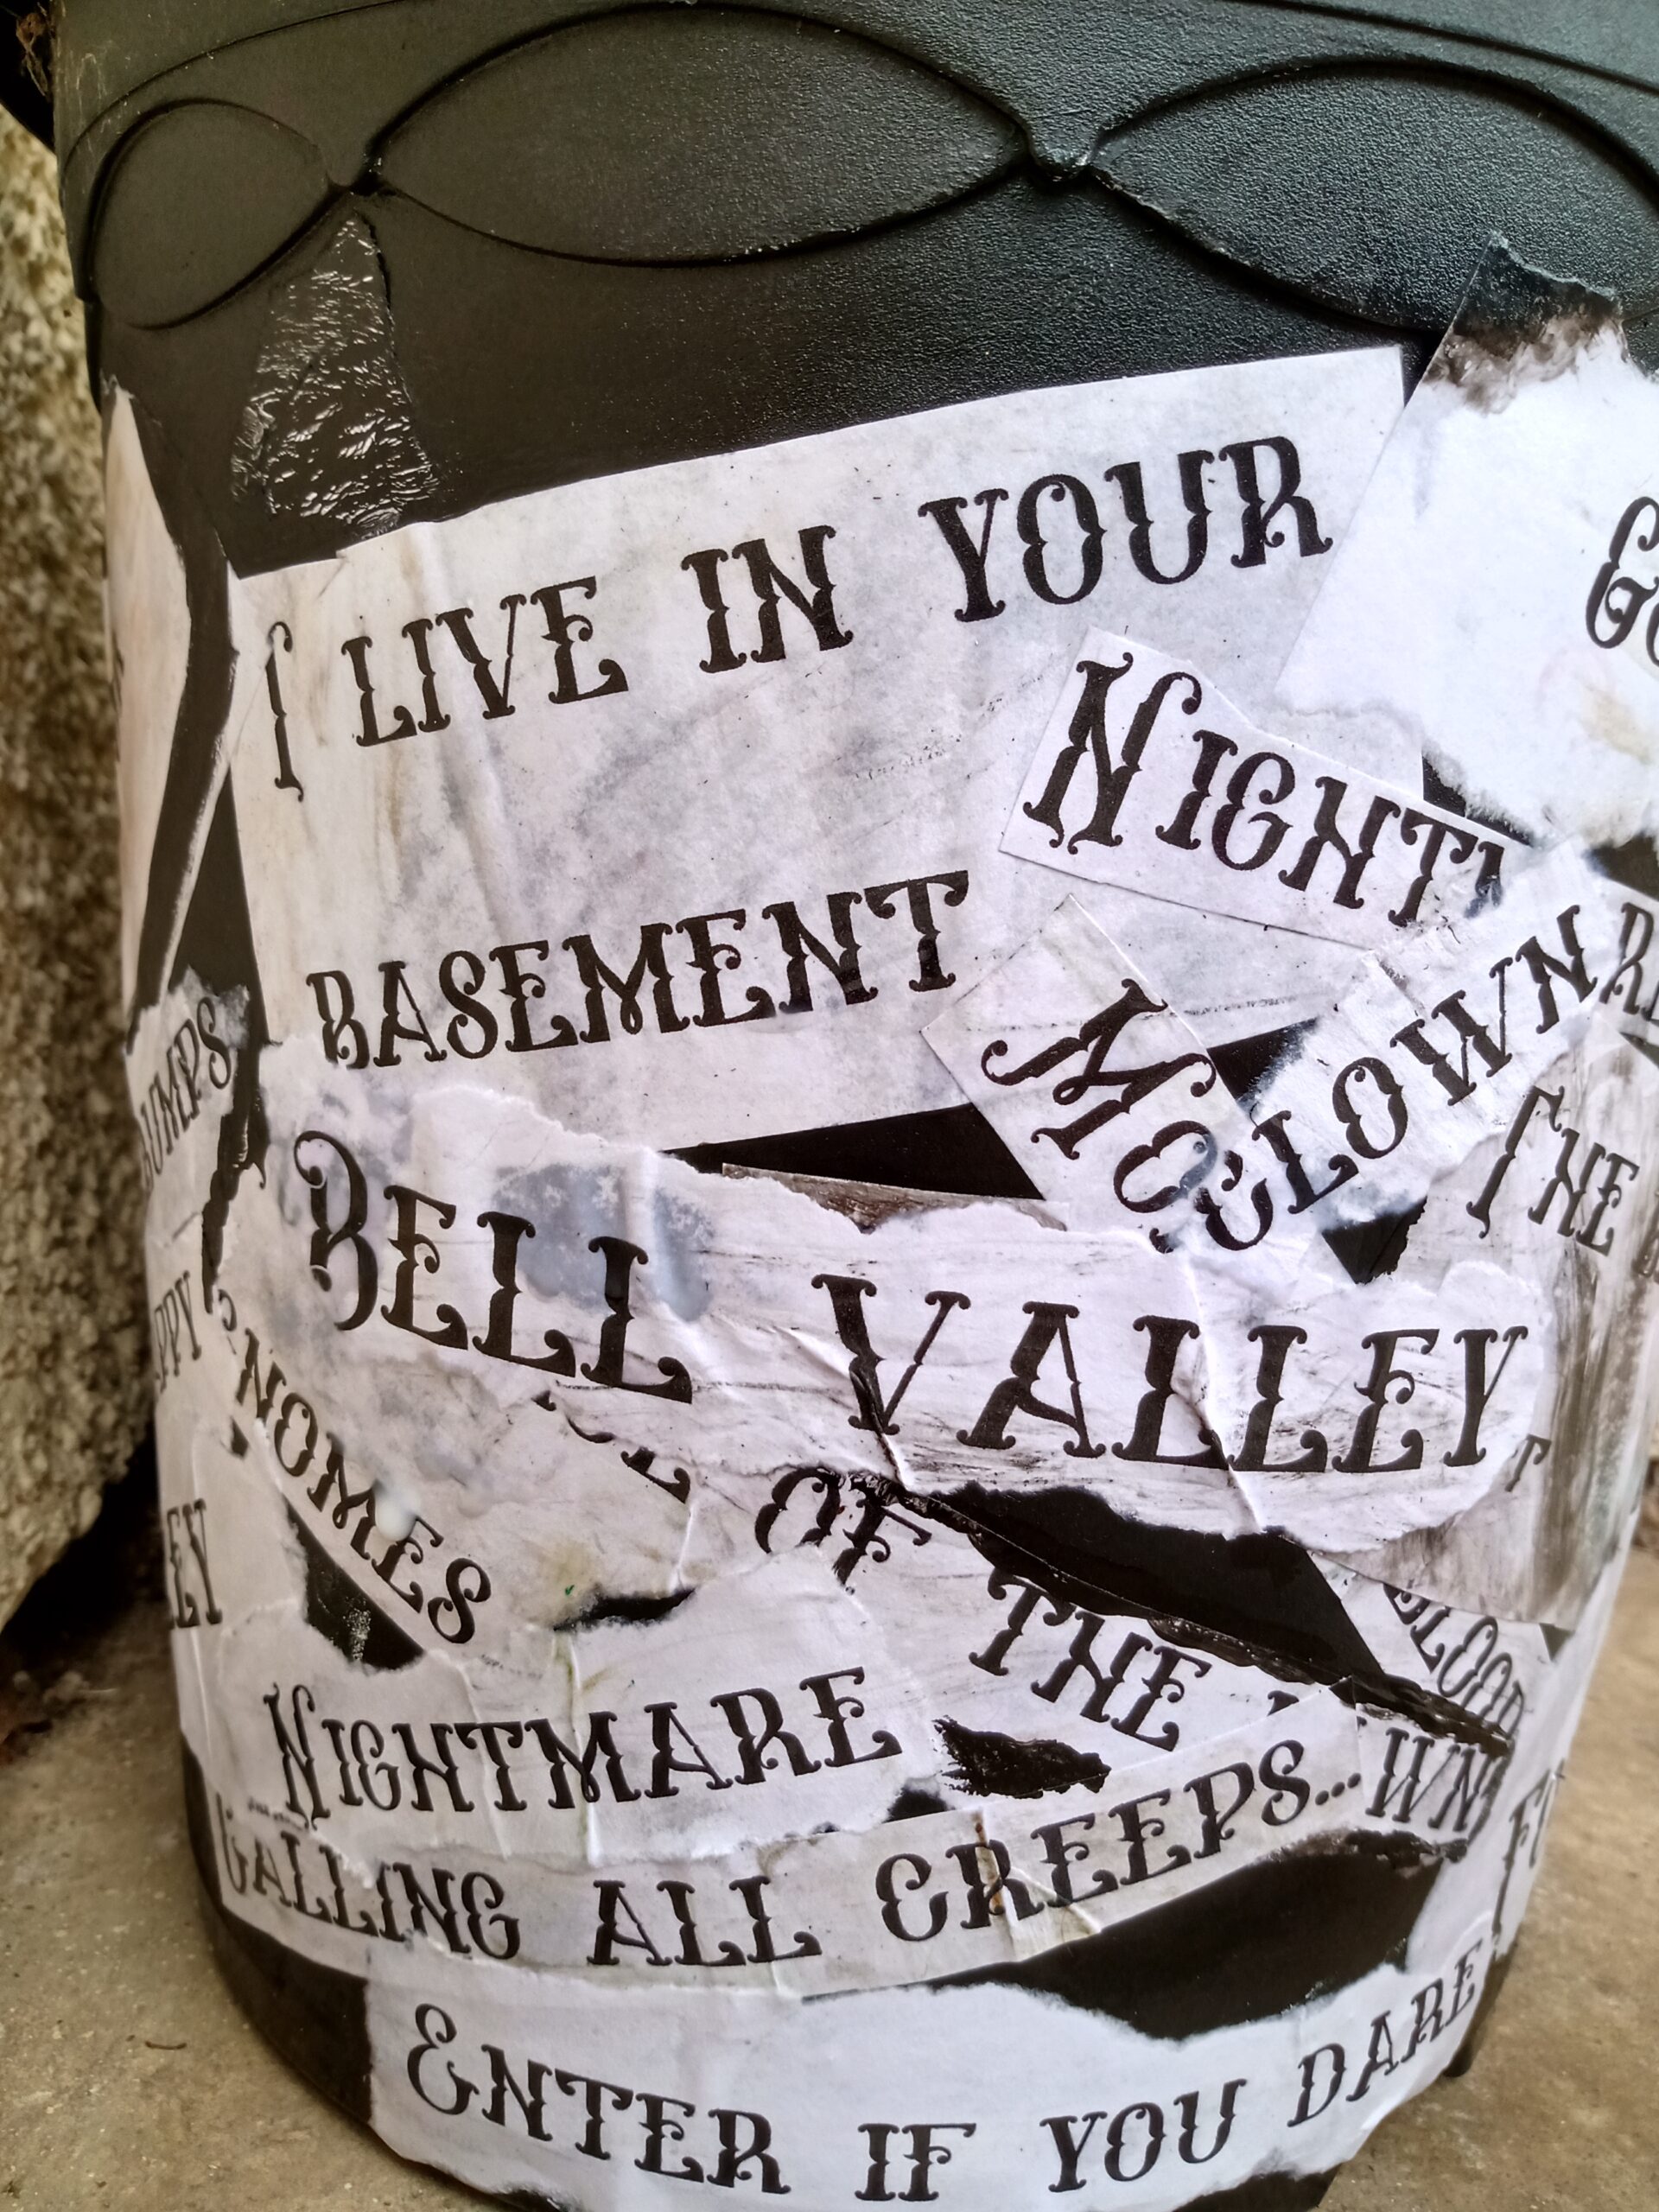
I decided to use a tattoo font to write out book titles, character names, and places from the books. I then printed these out on thin card ready to craft with.
Monster Blood
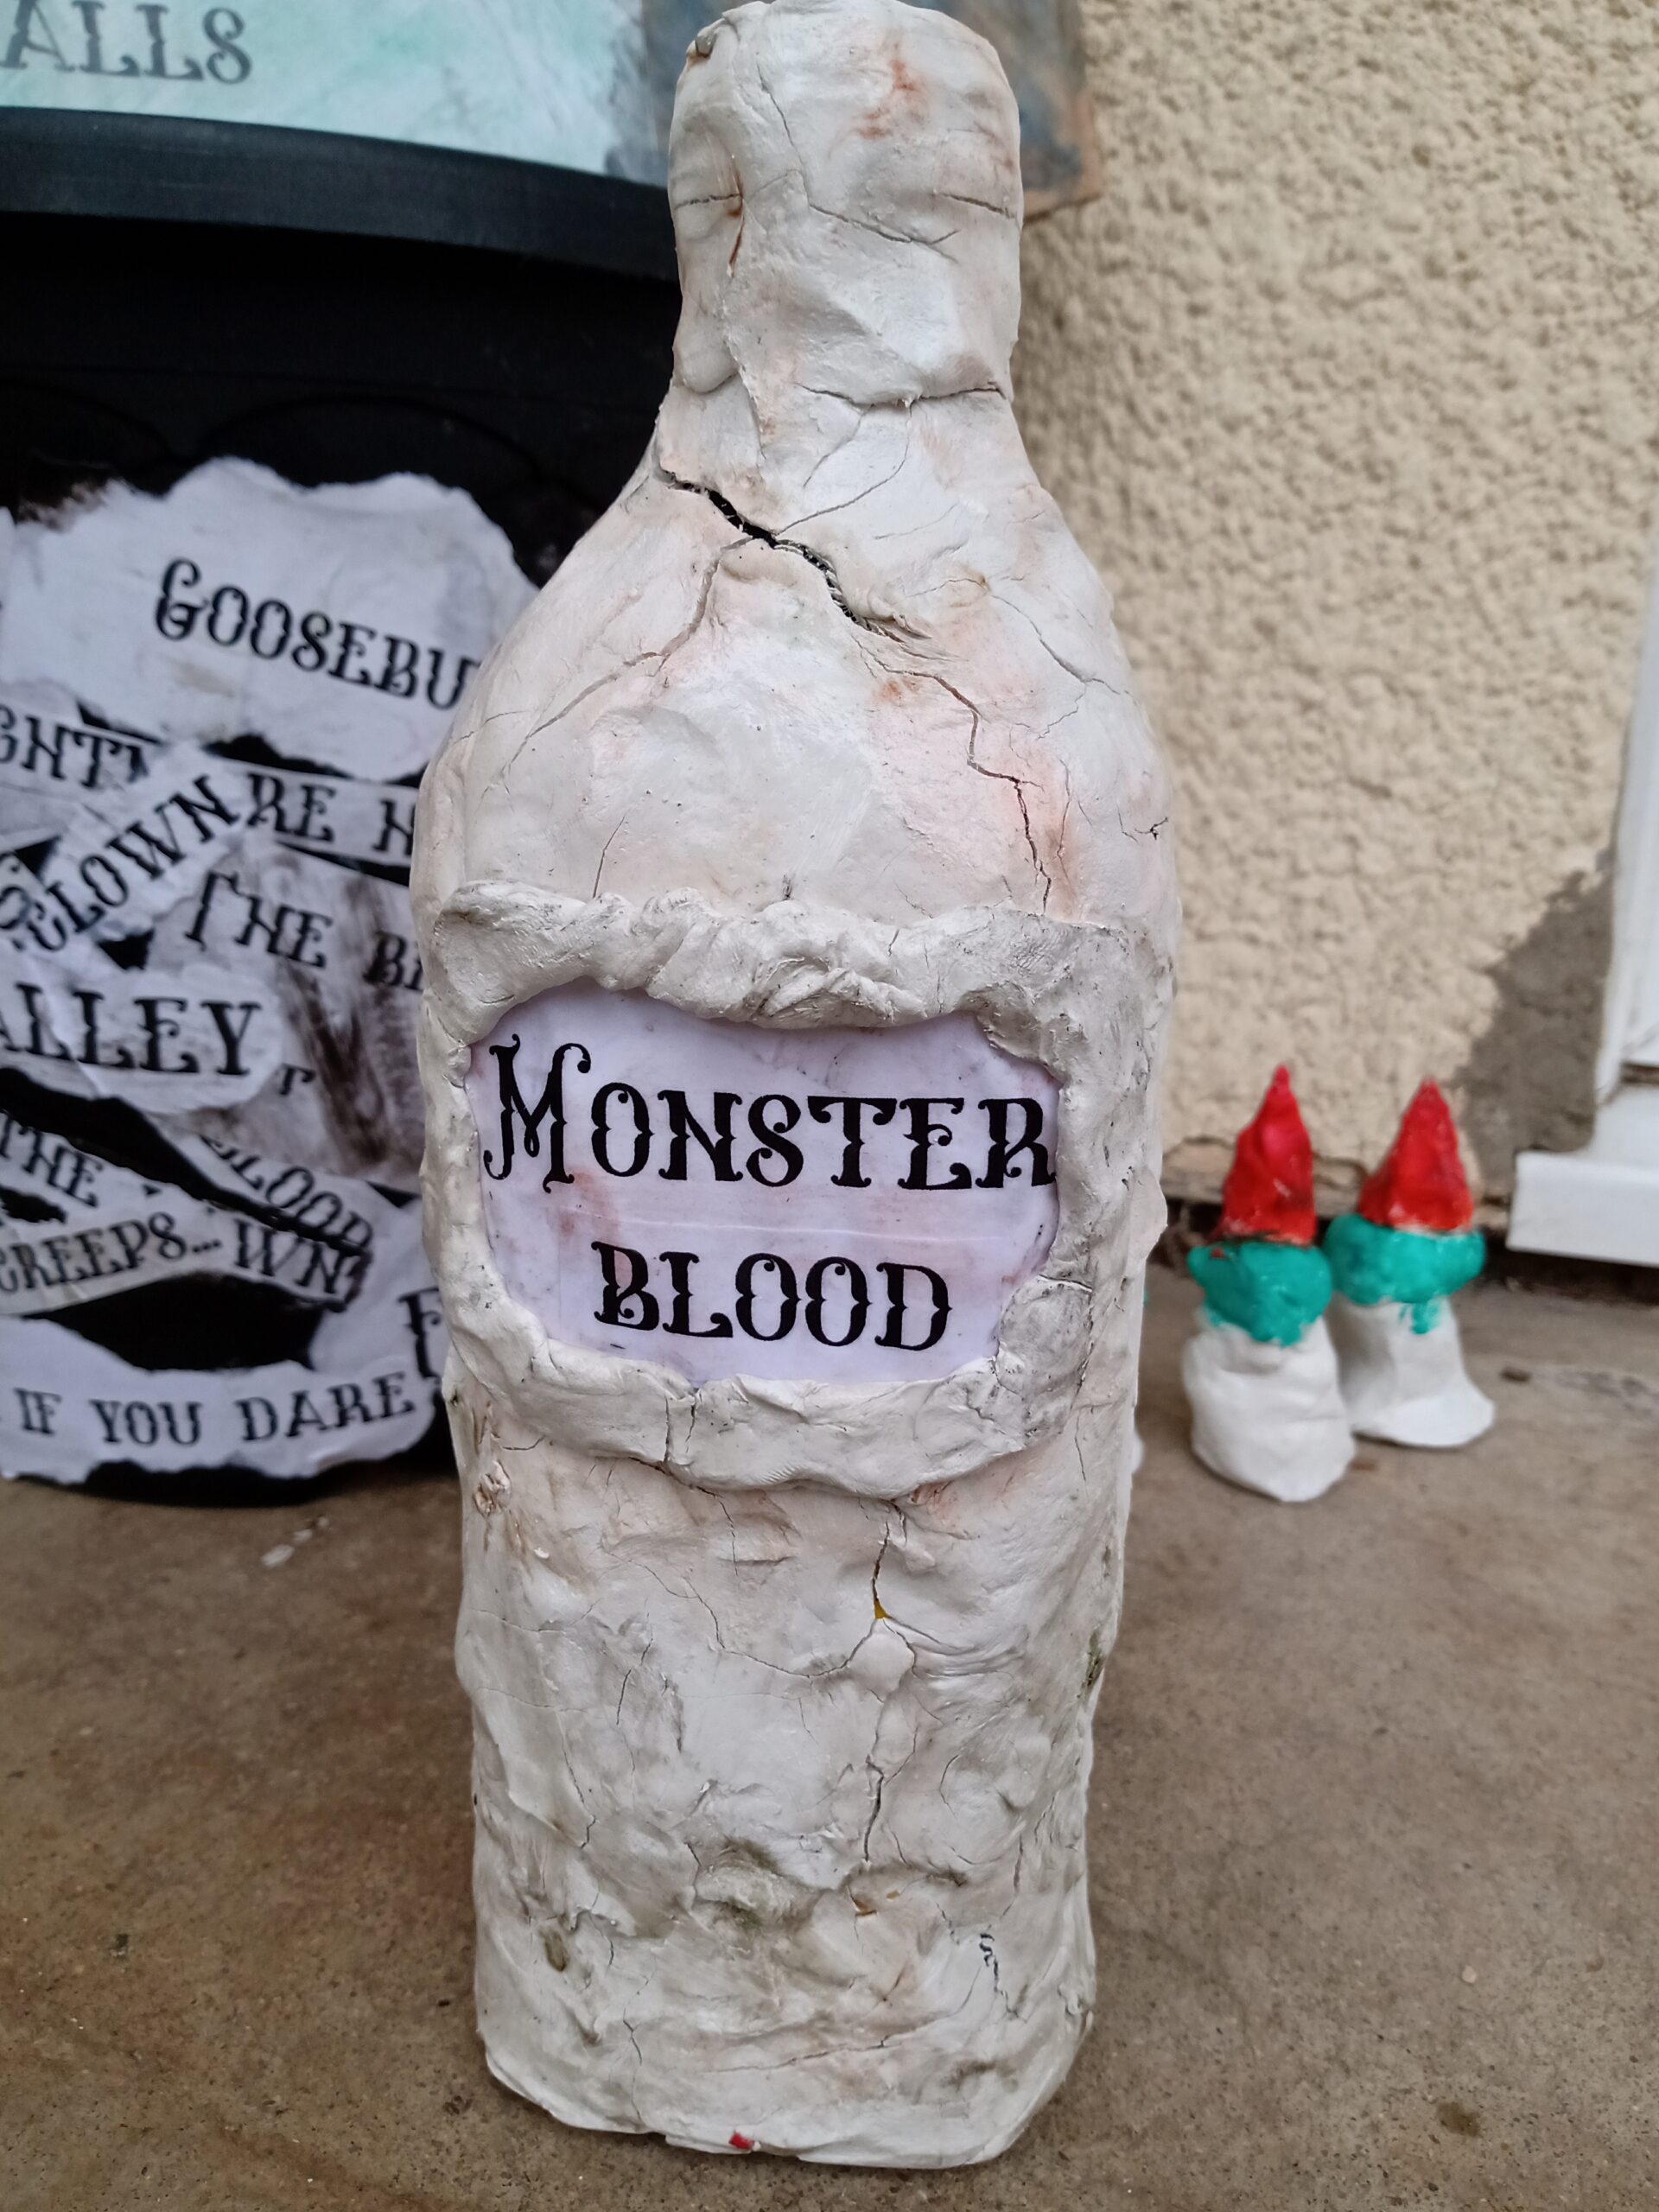
One of the Goosebumps books is called Monster Blood. Not only is this a super spooky title, it also made me think how we could incorporate ‘monster blood’ into the display. I thought of a pot of slime or similar, but realised that would be great for Halloween night, but not for a display I want to last a couple of weeks! So, I decided to create a spooky bottle. Initially I thought about using black acrylic paint to paint a bottle, but it didn’t seem quite spooky enough.
I then remembered seeing a really old spooky ceramic bottle – how could I create that? I grabbed a large empty olive oil bottle, and some air dry clay. Carefully rolling out the air dry clay, I wrapped the bottle in it. I didn’t worry about making it smooth as I like the idea of it looking rough and – old. I created a label “Monster Blood” and then added it to the front of the bottle, adding a little extra clay to frame the label. Once dry, I used pva to “varnish” the bottle. I added hints of colour to the top of the bottle to indicate that something had leaked from the bottle.
Decopatch
I also used the words I printed out to decopatch a large old flower pot. Ripping the words out, and gluing them onto the pot using PVA glue. I also used a little black acrylic paint to add darkness where needed.
Normally, this pot I would fill with treats, but this year as things are a little different – and I want the display to last a few weeks running up to Halloween! So, I’m going to fill the base of the pot with scrunched up newspaper then top it with conkers which we will decorate as skulls – using the idea I spotted on Kids Chaos.
I’ve put a few other little signs up around the door too, and a creepy face made using air dry clay. I think it’s fairly scary as the face appears to come out of the door!

To age the signs, it’s really easy to do! Once they’re printed and attached to card, take an old tea bag and dab a bit of the tea onto the sign. If you have a lot of signs to make, you make a strong cup of tea and paint it onto the signs. Once dry they get a yellowish aged tinge, which I think helps to add to the creepy feeling!
I spent under £20 and came up with a display which is unique to us, and we can use the bits again next year too if we want – even changing the theme! We can also add more to the decorations over the next week or two – if we do I’ll be sure to update!

In this project I used:
Air dry clay.
An old glass bottle
Old Plant pot
PVA Glue
Card
Printer (to print the words written in a spooky font)
Paint